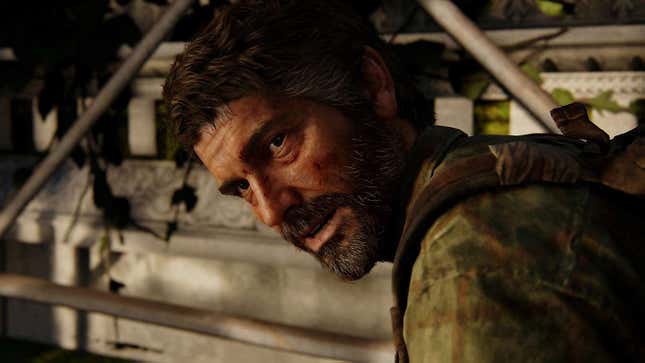
At this rate, we’ll never see the last of The Last of Us. Ahead of a high-profile HBO adaptation, Naughty Dog released a top-to-bottom remake, called The Last of Us Part I, for PlayStation 5.
Make no mistake: The Last of Us Part I is fundamentally the same exact game as its 2013 original (and subsequent 2014 remaster, for PlayStation 4). In my testing, guides that already exist for the original apply here—right down to the combinations for safes and other locked doors. If you’re seeking hyper-specific advice, you’re better off checking out Kirk’s initial tips from [website crumbles into dust].
Still, Part I is the most mechanically superior version of the game, no question about it, and with the enhancements come some changes. Like its immediate predecessor, 2020’s The Last of Us Part II on PlayStation 4, Naughty Dog included an impressive array of settings and accessibility options. You’ll find well over 60 sliders and settings you can tweak. Most are dependent on preference, the sort of thing you’ll want to adjust as you play, but there are a handful that are worth turning on from the jump.
Vibrating Speech
Speech to vibrations, found under the DualSense menu, is one of the few parts of The Last of Us Part I that makes it feel like a legitimate PS5 game (rather than an extremely pretty PS4 one). The setting makes the PS5 controller vibrate when a character is talking, and it does so at the same cadence as their speech. It’s pretty cool! It’s also a little intense by default. For me, I’ve found the speech to vibrations intensity sweet spot at 5—just enough to “hear” characters talk but not so much that it’s distracting.
Custom difficulty
The Last of Us Part I is playable on six difficulty settings, ranging: very light, light, moderate, hard, survivor, and, once you beat the game, grounded. But the challenge isn’t so linear. You can adjust the difficulty for five different aspects of the game:
- Player: Dictates how much damage you take from attacks, and how frequently or infrequently you clock checkpoints in the middle of a fight.
- Enemies: Basically dictates how savvy (or not-savvy) your foes are.
- Allies: Determines how often your allies assist you in combat.
- Stealth: Controls a number of variables related to sneaking, including how long it takes for enemies to alert their comrades after spotting you.
- Resources: Regulates how often resources, like food, ammo, and crafting supplies, appear.
So if you’re great at staying out of sight but struggle with the all-out action segments, you can reflect that in a custom difficulty setting. There’s also a perk here for masochists. Though you can’t start a new game from the highest possible difficulty level—even if you’ve played it a thousand times during its prior iterations—you can manually set all five of those to grounded for a de facto hardest-possible run.
Photo Mode Shortcut
The Last of Us Part I is debatably one of the prettiest games on console right now. In other words: You’re gonna wanna take a lot of screenshots. Typically, popping into photo mode requires opening the menu, which slows down the pace of the game—unless you turn on photo mode shortcut, in the controls menu. When activated, you can hop right into photo mode by pressing both thumbsticks in at the same time. Just make sure to get the timing right, else you’ll turn on Joel’s flashlight and ruin your shot!
Hints
Hints, at the very bottom of the HUD menu, are set to sometimes by default. But they’re far more cumbersome than they are helpful. For one thing, they only offer advice as to the critical path. Sometimes you know exactly what to do to proceed in the story but, because it’s a Naughty Dog game (dense levels worth exploring), you want to poke around for a bit, see if you can turn up any collectibles or key resources. And that brings me to the most annoying part of Part I’s hints: Once a tip pops up, it doesn’t go away until you finish the task it tells you to do. Here’s where I remind you that all of the already-written guides for this game are just as effective now as they were a decade ago.
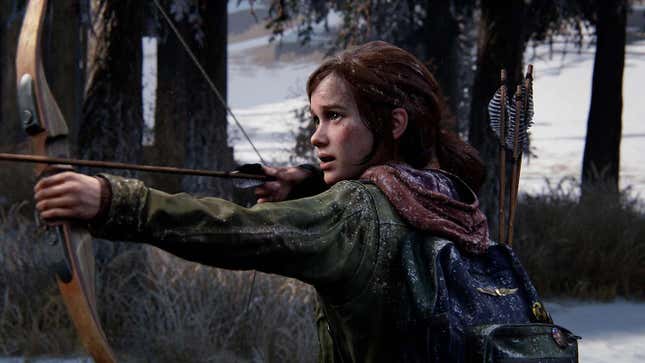
Bow Reticle Style
For the most part, yes, The Last of Us Part I is the same game as The Last of Us. One subtle change: There’s a new aiming system for the bow. And it kinda sucks. By default, it comes with just a standard dot as a reticle—not great for gauging distances when aiming with a bow. But if you change the bow reticle style setting, found under the HUD menu, to classic, you’ll be able to see the arrow’s path as intended: with a clear trajectory showing where it’ll land. Not only is this helpful AF, it’s also a reminder that, yeah, some things are better left untouched.